You can create an ASP.NET Core web application which is able access Office 365 account of a user via IMAP and SMTP without knowing the password of this user.
We modified Microsoft's 2-WebApp-graph-user/2-1-Call-MSGraph sample to support IMAP/SMTP access in addition to Graph API. You can find the modified sample in My Documents\MailBee.NET Objects\Samples\ASP.NET\cs_netcore31_office365_oauth_samples folder. The sample is available in C# version only.
The sample utilizes the latest .NET tech (at the moment of writing) and thus requires .NET Core 3.1 at least. You'll need Visual Studio 2019+ as well.
Create an application in Azure Portal. You may need to create an account there first.
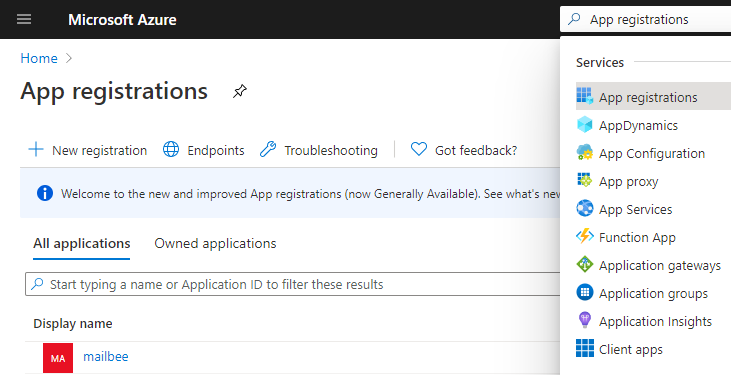
Find App Registrations section.

Click New registration. Type some Name the users will see on the consent screen. For Supported account types, we used Accounts in any organizational directory (Any Azure AD directory - Multitenant) and personal Microsoft accounts (e.g. Skype, Xbox) to target the widest set of Microsoft users.
Redirect URI can be set later. Click Register.

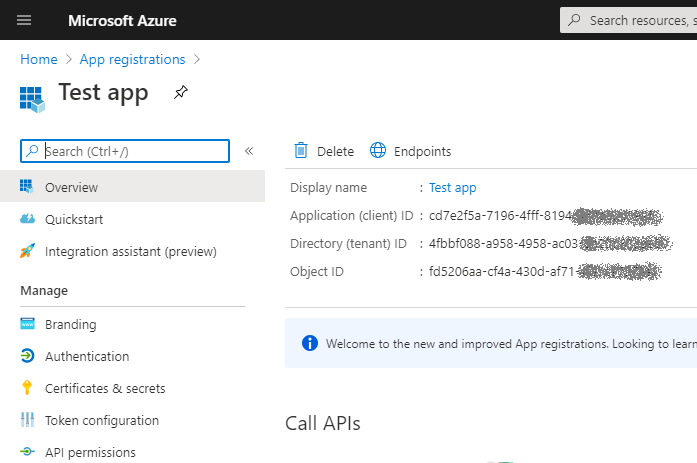
Save Application (client) ID, you'll need to specify it in the app code.
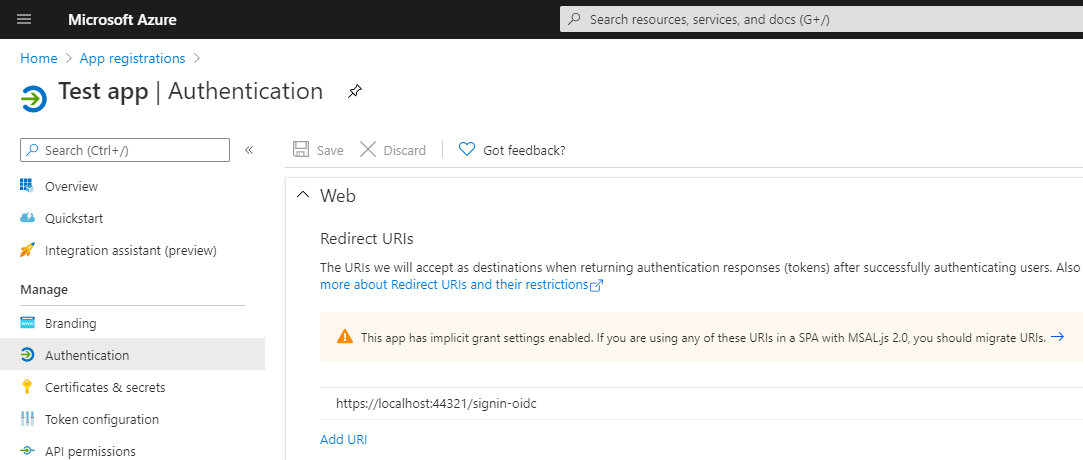
Click Authentication in Manage section. In Platform configurations, click Add a platform and then Web aplications / Web. Set Redirect URI to somewhat like https://localhost:44321/signin-oidc (you'may need to adjust this value later). Tick Access tokens and ID tokens checkboxes as well.
Now you have something close to this:

In Manage / Certificates & secrets, click New client secret. You need to save the secret in some other place as you won't be able to retrieve it again.
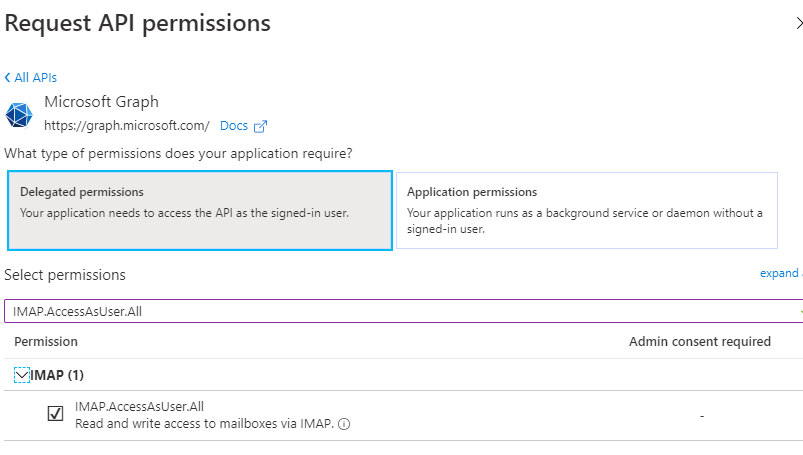
In Manage / API permissions, click Add a permission. Select Microsoft Graph, then Delegated permissions, and in Select permissions search box type IMAP.AccessAsUser.All:

Click Add permissions.
If you want to also send email (not just receive it), you need to add SMTP.Send permission as well.
If you have issues with sending email, you may need to fix SMTP authentication settings. See SMTP Authentication for details.
The original sample from Microsoft is already capable of dealing with OAuth 2.0 access and refresh tokens.
The below is the list of changes required to add support for IMAP/SMTP and offline access which makes it possible to access the user's account in non-interactive mode (after the user gave the initial consent):
services.AddWebAppCallsProtectedWebApi(Configuration, new string[] { "offline_access", "https://outlook.office365.com/IMAP.AccessAsUser.All", "https://outlook.office365.com/SMTP.Send" }).AddInMemoryTokenCaches(); to request IMAP/SMTP specific scopes and offline access which allows for accessing the user's mailbox in background (so that the user's consent is required only once)."AzureAd": {"Instance": "https://login.microsoftonline.com/", "Domain": "youroffice365domain.com", "TenantId": "common", "ClientId": "xxxxxxxx-xxxx-xxxx-xxxx-xxxxxxxx", "CallbackPath": "/signin-oidc", "SignedOutCallbackPath ": "/signout-callback-oidc", "ClientSecret": "your_secret"}". youroffice365domain.com domain, "xxxxxxxx-xxxx-xxxx-xxxx-xxxxxxxx" ClientId and "your_secret" must be updated with your actual Office 365 domain (of your Azure account), and Client ID and secret of your Azure app. For Tenant, set "common".Profile to request the token and actually perform check mail and send mail operations. You'll just need to adjust your license key (HomeController.MailBeeLicenseKey field).HomeController.ImapLogFilePath and HomeController.SmtpLogFilePath fields).Again, the modified sample where you just need to set your Office 365 domain, ClientId/ClientSecret and MailBee.NET Objects license key, can be found at My Documents\MailBee.NET Objects\Samples\ASP.NET\cs_netcore31_office365_oauth_samples folder.
In case if you change the port the sample app runs on (by default, it's https://localhost:44321 and can be configured in Visual Studio project settings, Debug / Web Server Settings / App URL), you need to adjust port or protocol change in Redirect URI which you configured in Azure.
When you run the sample, you log in first (and give consent to access your Office 365 account), and then you can click Check/Send email to make the app check inbox and send email from you to yourself.
Copyright © 2006-2024 AfterLogic Corporation. All rights reserved.