This tutorial demonstrates using OAuth 2.0 with IMAP/SMTP for Office 365 (interactive mode where the end user must give their consent to let your app access their email).
See Microsoft accounts - Installed apps or Microsoft accounts - Installed apps running HttpListener versions of this tutorial if you're looking for OAuth 2.0 for Outlook.com or Hotmail.com accounts (not Office 365).
See Office 365 - Non-interactive mode guide if you're looking for Client Credentials Flow guide where the end user is not required to give consent to your app's accessing their email).
If you're looking for ASP.NET Core version, you can find it here.
The sample code in this tutorial is adapted from Microsoft Graph API sample (a WPF app) on Github. This sample is capable of getting the access token, refresh token, automatic refreshing the access token. We modified it with the ability to get the e-mail address of the user, request IMAP/SMTP specific scopes, and actually perform checking and sending mail via IMAP/SMTP and OAuth 2.0.
OAuth 2.0 magic is done with MSAL.NET library.
The idea is to make a Windows application which can access Office 365 account of a user via IMAP and SMTP without knowing the password of this user.
Create an application in Azure Portal. You may need to create an account there first.
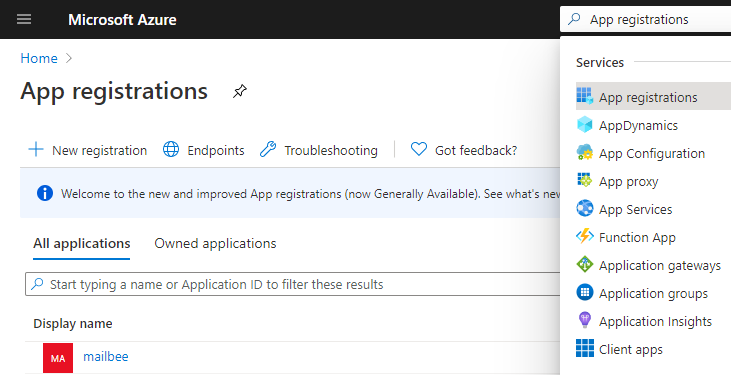
Find App Registrations section.
Click New registration. Type some Name the users will see on the consent screen. For Supported account types, we used Accounts in any organizational directory (Any Azure AD directory - Multitenant) and personal Microsoft accounts (e.g. Skype, Xbox) to target the widest set of Microsoft users.
Redirect URI can be set later. Click Register.
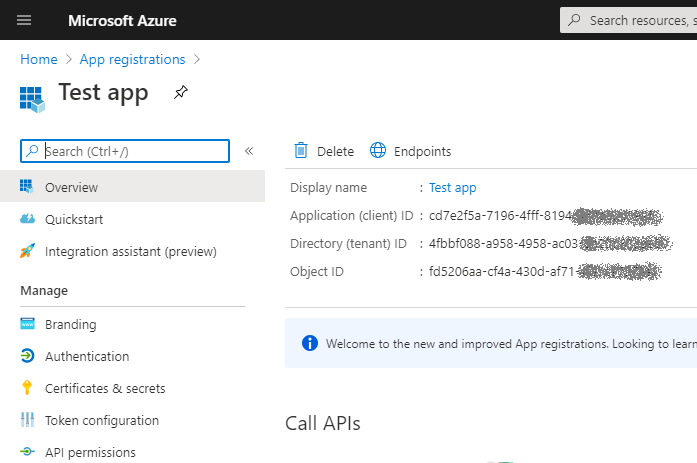
Save Application (client) ID, you'll need to specify it in the app code.
Click Authentication in Manage section. In Platform configurations, click Add a platform and then Mobile and desktop applications.
In Redirect URIs, set https://login.microsoftonline.com/common/oauth2/nativeclient checkbox.
Click Save to commit the changes.
In Manage / Certificates & secrets, click New client secret. You need to save the secret in some other place as you won't be able to retrieve it again. Actually, this step is optional because the WPF sample in this guide does not use a secret (but, for instance, ASP.NET Core version of this sample does use it).
In Manage / API permissions, click Add a permission. Select Microsoft Graph, then Delegated permissions, and in Select permissions search box type IMAP.AccessAsUser.All:
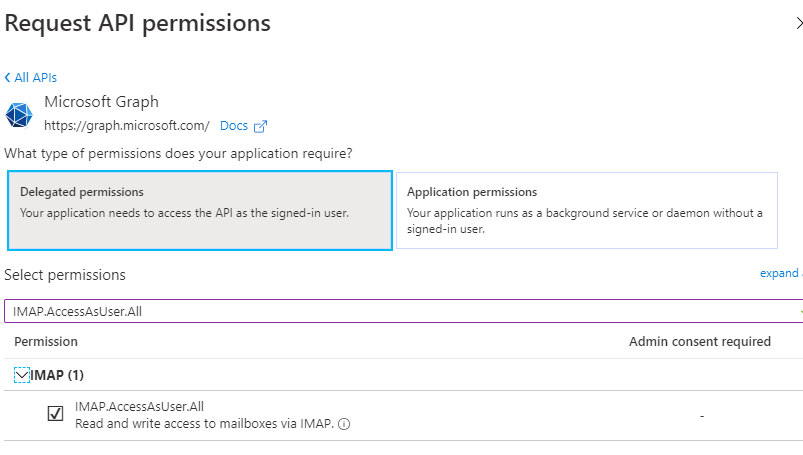
Click Add permissions.
If you want to also send email (not just receive it), you need to add SMTP.Send permission as well.
In case if you want to send email (with SMTP) but having issues, you may also need to enable SMTP authentication for your users on Microsoft portal. Even if it's enabled, unchecking/saving and checking/saving this setting again can make a difference! One of our customers provided the detailed solution below.
Follow the instructions under the heading "Use the Microsoft 365 admin center to enable or disable SMTP AUTH on specific mailboxes" on this page.
HOWEVER, when I got to the last step, "Authenticated SMTP" was already checked, so I unchecked it, clicked SAVE and re-checked it and click SAVE and immediately SMTP it started working!
Hence the instructions I'm providing to my Office365 customers are as follows:
The sample application is based on Graph API WPF sample from Microsoft, taken from Github.
The modified application can be found at My Documents\MailBee.NET Objects\Samples\WinForms\.NET Core 2.0\C#\Office365RegularAccounts folder. The sample is available in C# only.
The original sample from Microsoft was already capable of performing all basic OAuth 2.0 operations such as obtaining access tokens via the consent screen and refreshing access tokens for subsequent background operations.
We modified the sample to request IMAP/SMTP scopes for Office 365 and added actual MailBee code which checks the number of messages in the inbox via IMAP and sends the email of the user to themselves.
We also added getting the details on the e-mail address and friendly name of the user (with Graph API), and some nice error handling and reporting.
Before running the sample, make sure to set MainWindow.MailBeeLicenseKey in MainWindow.xaml.cs to your MailBee.NET license key.
You'll also need to set your Client ID (which you got in Azure portal) at App.xaml.cs (App.ClientId constant).
Also, by default the sample creates log files in C:\Temp\imap_log.txt and C:\Temp\smtp_log.txt locations (for troubleshooting purposes). You can change that to some other path if required.
Copyright © 2006-2026 AfterLogic Corporation. All rights reserved.