- Products
- .NET Components
-
 MailBee.NET Objects .NET email components: SMTP, POP3, IMAP, EWS, Security, AntiSpam, Outlook, Address Validator, PDF
 -
 MailBee.NET Queue Easy-to-use .NET service to deliver e-mails in the background
- ActiveX Components
-
 MailBee Objects ActiveX email components: SMTP, POP3, IMAP, S/MIME
 - MailBee Message Queue Queue-based background sending of emails
- Web scripts
-
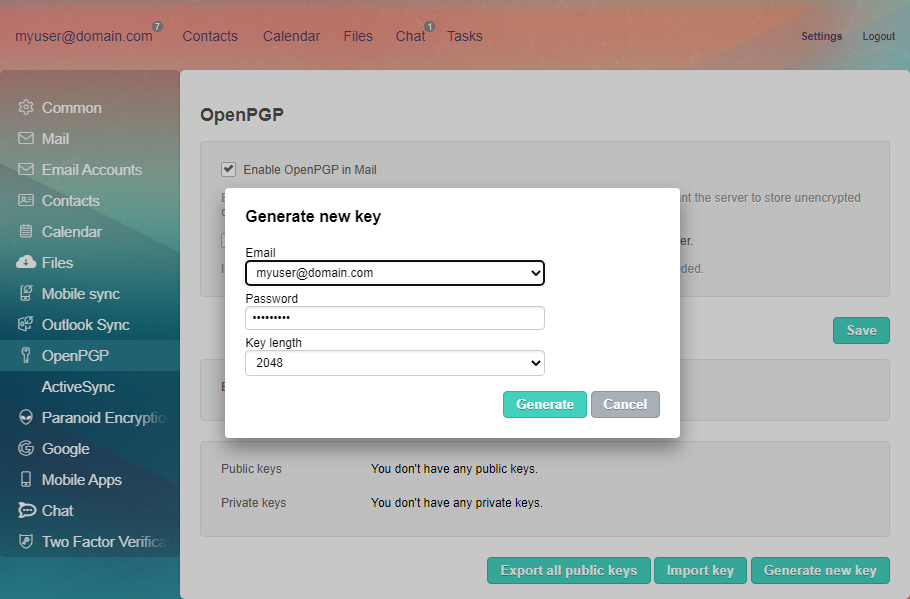
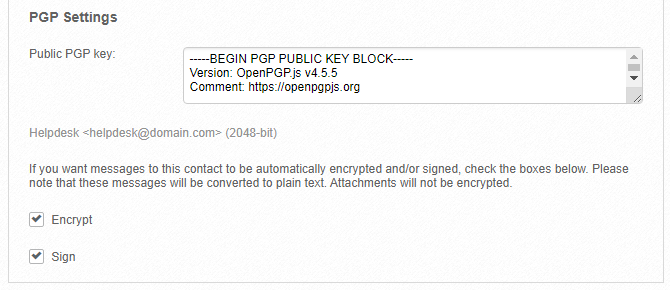
 WebMail Pro PHP Webmail front-end for your existing mail server, with personal calendar, contacts, and mobile sync
 - WebMail Pro ASP.NET Webmail front-end for your existing mail server, with calendar sharing and global contacts
-
 ActiveServer Premium addon which brings ActiveSync support to WebMail Pro and Aurora
- Solutions
-
 Aurora Corporate Groupware system for businesses and providers
 - Aurora Files Your personal cloud storage
-
 Triton Transactional and newsletter emails sending solution
 -
 MailSuite Pro for Linux Mail server (MTA) bundled with WebMail Pro for a complete solution
 -
 Unified Messaging Solution Technology platform which provides telecom users with a feature-rich messaging portal
- Purchase
- Support
- Our Clients
- Services
- About
Menu